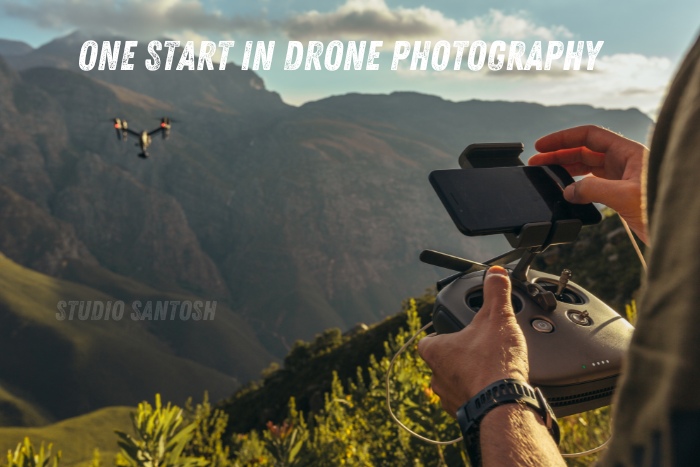
With breathtaking aerial views once only possible with costly equipment and professional piloting, drone photography has opened a new world of possibilities. Aspiring photographers can delve into aerial photography and investigate unusual viewpoints on landscapes, events, architecture, and more today with drones more easily available than ever. This guide will address all you need to know to get off the ground, including legal requirements, basic advice, and necessary tools, should you be in Coimbatore and wish to begin your path into drone photography.
Why Start with Drone Photography?
Unmatched access to distinctive viewpoints that would otherwise be either very expensive or impossible is provided by drone photography. From sweeping landscapes to cityscapes and even weddings, drones let photographers capture amazing images from angles that give photos vitality and depth. Furthermore, drone knowledge is becoming more and more popular in the field of photography and can open new opportunities for both professionals and amateurs for either artistic expression or commercial projects.
Step 1: Understand the Basics of Drone Photography
Understanding what distinguishes drone photography from conventional photography will help one to appreciate the technical nuances. Combining elements of aerial photography, piloting, and photography techniques, drone photography In addition to getting pictures as a drone photographer, you are controlling flight paths, knowing the weather, and safely maneuvering your drone.
Key Differences in Drone Photography:
1. Drones let you capture from high altitudes, so providing a bird’s-eye perspective of surroundings and objects. From this vantage point, you approach composition differently.
2. Motion and stability given drones’ aerial nature, stability is quite important especially in windy conditions. Although stabilization features abound on drones, manual control of them is also crucial.
3. Lighting conditions natural light behaves differently from high above, thus for the best results you should change your camera settings and aim at golden hour.
Step 2: Choose the Right Drone for Photography
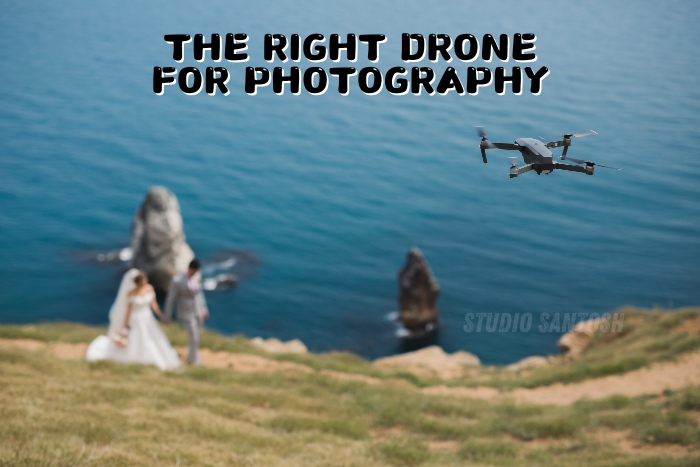
Especially if you’re starting out, selecting the correct drone is absolutely vital. Your drone should fit your budget, degree of experience, and photographic requirements. Popular models of drones for beginners, intermediate, and professionals are broken out here.
Beginner Drones
Entry-level drones like the DJI Mini 2 and DJI Mavic Mini provide reasonably priced, good image quality, and simplicity of use for beginners. These lightweight, simple to fly drones have HD cameras and stabilization, among other basic capabilities.
Pros:
1. Light-weight and Portable
2. Simple to fly with automatic stabilization tools
3. Superior HD or 4K video
Cons:
1. Restricted sophisticated features
2. Less flying range and battery life
Intermediate Drones
If you’re ready to spend a little more, intermediate drones like the DJI Mavic Air 2 or Autel EVO Lite provide a mix of professional capabilities and economy. They have better cameras, longer battery life, and sophisticated stabilization.
Pros:
1. High-quality cameras (4K and even 8K in several models)
2. Modern flying forms for simpler control
3. Higher altitude limits and longer battery life.
Cons:
1. Slightly more costly than models of entry-level performance
Professional Drones
Drones like the DJI Phantom 4 Pro V2.0 or Inspire 2 have high-resolution cameras, sophisticated gimbals, and custom flight features for those wishing to capture professional-grade images. Serious drone photographers or those engaged in commercial projects will find these drones most suited.
Pros:
1. Excellent camera quality that of 20MP sensors or above
2. Modern systems of advanced obstacle avoidance
3. Effective gimbals for stability.
Cons:
1. Costly and not as mobile
2. Calls for more knowledge and flying experience.
Step 3: Learn Basic Drone Controls and Flight Modes
Once you own a drone, learn its flight modes and controls. Knowing these fundamentals will increase your control and enable you to avoid collisions especially in challenging shooting situations.
Key Drone Controls to Master:
1. Controls altitude by throttle, so enabling the drone to climb or drop.
2. Yaw moves the drone left or right, so orienting the camera.
3. Pitch guide the drone either forward or backwards.
4. Roll turns the drone left or right horizontally.
Flight Modes
Most drones allow different flying modes, including:
1. GPS mode stabilizes the drone using GPS, so facilitating drone flying. Beginning users would find this mode perfect since it keeps the drone steady.
2. Disables some stabilization capabilities in Sport Mode, so enabling the drone to move faster and execute more dynamic motions.
3. Perfect for catching cinematic views, Cinematic Mode slows down movement and gives the controls smoothness.
Spend time honing these controls in an open, obstacle-free space to gain confidence in your capacity for safe drone maneuvering.
Step 4: Understand Legal Requirements and Safety Guidelines
Drone photography is covered by specific legal obligations and safety regulations. Since every country has different laws, it is advisable to be aware of local ones to avoid fines or equipment seizure.
In India, the Directorate General of Civil Aviation (DGCA) oversees drone regulations. Here are some key points:
1. Every drone heavier than 250 grams has to be registered with the DGCA.
2. License you might need for commercial use: drone pilot license.
3. Steer clear of flying near government buildings, military installations, airports, and heavily populated areas.
4. Usually, drones can only fly 120 meters at highest height.
Not only is following these guidelines required legally, but also your drone’s protection and the safety of others depend on it.
Step 5: Master Basic Photography Techniques for Drones
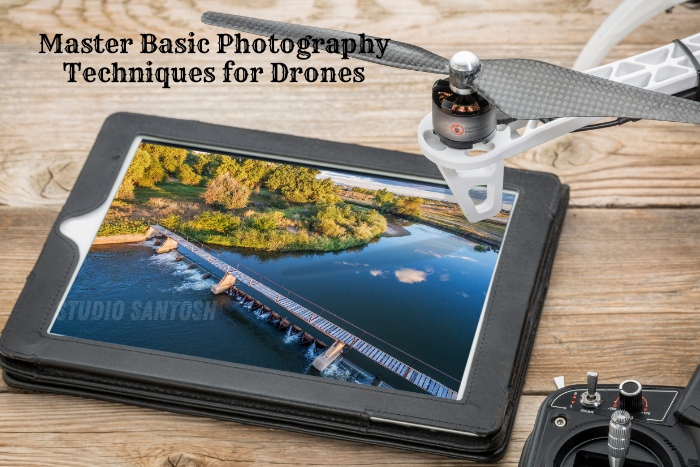
Once you know how to operate your drone, let’s explore photography techniques to enable you to get amazing aerial pictures. These methods center on properly using your drone camera settings to create aesthetically pleasing images.
1. Adjust Camera Settings for Optimal Quality
1. Image quality can be much improved by learning manual adjustments to the camera settings on your drone. The main settings to concentrate on are here:
2. Keep your ISO as low as you can to prevent grain in your pictures, particularly in brilliant light.
3. Faster shutter speeds help prevent motion blur. On cinematic video shots, though, a slower shutter speed could produce more seamless motion.
4. To match the lighting conditions for exact colors, change the white balance.
Make your drone generate the best resolution for clear images. Frame count A 4K setting lets clear, high-quality images possible, thus most aerial shots gain from it.
2. Use Composition Techniques
Aerial photography depends on composition extensively. These methods will help your drone shots to be better:
1. Align your subject off-center to produce a visually appealing, balanced view using the rule of thirds.
2. Lead the viewer’s eye toward the major subject using roads, rivers, or other natural lines.
3. Aerial views expose original symmetries and patterns including city grids or agricultural rows. Get these for visually striking images.
3. Take Advantage of Altitude and Angle
Drones let you play with angle and elevation. For a bird’s-eye perspective, try tilting the camera down and shooting from various heights. While lower angles are great for concentrating on particular objects, wide-angle views are ideal for catching vast landscapes.
4. Shoot During Golden Hour
The golden hour just after sunrise and before sunset offers the best natural light for drone photography, much as in conventional photography. Without editing, the soft, warm light accentuates colors and lowers strong shadows, so presenting your images professionally.
Step 6: Learn Basic Drone Videography Techniques
Because many drones can record videos as well as images, they are flexible instruments for artistic expression. Here are some fundamental approaches to get started with drone videography if you enjoy videos.
1. Plan Your Shot
Plan every shot to produce a flight path for seamless, continuous video. Advance knowledge of your angles and framing will help prevent sudden or unstable motions.
2. Use Cinematic Movements
Move slowly, steadily for videos with a professional look. Here are a few cinematic deft moves:
1. Start low and climb steadily to expose the scene.
2. Start near the subject and then back off to create drama in the scene by a wide view.
3. The Orbit for a dynamic, 360-degree view, circle a topic.
3. Experiment with Frame Rates
While 60 fps or above lets for seamless slow-motion shots, shooting at 24 or 30 fps creates a cinematic impression. Select your frame rate depending on the desired mood to transmit.
Step 7: Practice, Practice, Practice!
Practice is the greatest way one might get better in drone photography. Try several times of day, altitudes, and angles to see how lighting and viewpoint alter your shots. You will grow confident in your ability to produce amazing aerial images and acquire a distinctive style over time.
Step 8: Editing and Post-Processing
Improving your drone photos and videos greatly relies on editing. You can hone your work using tools including Adobe Lightroom and Photoshop for images or Premiere Pro and Final Cut Pro for videos. The final quality of your drone shots can be much improved with changes to exposure, contrast, and color grading.
Basic Editing Tips:
1. Changing the exposure level will help your photos to have more complexity.
2. Boost colors slightly to make landscapes more vivid without overdoing saturation.
3. Sometimes a small crop helps to balance and composition of a picture.
4. If you find any jitters or shakes in the video, use software to steady it.
Why Studio Santosh Is Your Partner in Drone Photography in Coimbatore
At Studio Santosh, investigating fresh approaches in photography excites us. Having years of expertise in ground-level and aerial photography, we can assist you start with drone photography or offer premium services for your events, company, or creative endeavor. Our staff guarantees safe, professional, and amazing images by knowing the nuances of drone operation and aerial photography.
Conclusion
Starting in drone photography is an interesting trip combining technical knowledge, creativity, and technology. You can get distinctive and strong aerial images by selecting the correct gear, learning fundamental flight and photography techniques, and knowing local laws. Studio Santosh is here to help your vision whether your need professional drone services or you’re in Coimbatore and want to improve your photography abilities using drone work.
Accept the difficulty, gaze skyward, and learn the craft of drone photography!

